🌳 Gratitude Tree
Gratitude grows just like a tree — when you nurture it, it blossoms beautifully! 🌸✨
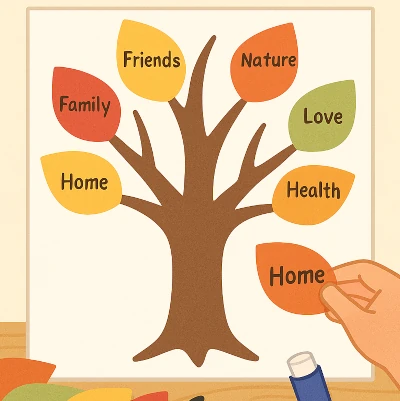
This Gratitude Tree craft helps kids and families express thankfulness in a creative, visual way. Each leaf holds a note of gratitude — a simple way to celebrate the good things in life. 🍃💛
Perfect for homes, classrooms, or festive family moments like Thanksgiving or Diwali! 🌼
🧰 Materials Needed
- Brown construction paper (for the tree trunk & branches)
- Green, yellow, orange, and red paper (for leaves) 🍂
- Scissors ✂️
- Glue stick or tape
- Markers or pens 🖊️
- A large sheet of cardboard or wall space (for display)
- Optional: glitter pens, stickers, or decorative tape ✨
🟢 Step-by-Step Instructions
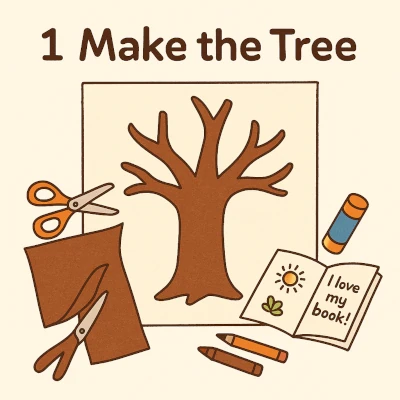
1️⃣ Make the Tree
- Cut a big tree trunk and branches out of brown paper.
- Stick it on cardboard, a chart paper, or directly on the wall. 🌳
2️⃣ Create the Leaves
- Cut out leaf shapes from colored paper — use fall colors like orange, red, yellow, and green. 🍁🍃

3️⃣ Write Your Gratitude Notes
- On each leaf, write something you’re thankful for — it could be a person, a moment, or even your favorite snack! 🍪Example:
- “I’m thankful for my family.” ❤️
- “I’m grateful for my teacher.” 👩🏫
- “I love playing with my friends.” 🎈

4️⃣ Decorate & Arrange
- Stick the leaves on the tree branches.
- Add glitter, stars, or small drawings for a cheerful touch. ✨

5️⃣ Keep Growing Your Tree
- Every day or week, add a new leaf with something you’re grateful for.
- Watch your Gratitude Tree grow fuller and happier! 🌿💚

🎉 Final Touch
Your Gratitude Tree is ready! 🌳✨
Display it where everyone can see it — it’s a daily reminder of all the good things in life.